 This dish is inspired by the memories of having large family gatherings on Sundays. I mean large when aunts, uncles, cousins, grandparents also show up for lunch/dinner and lots of food would be prepared and served to feed the Greek appetites. My dad taught me how to roast Prime Rib but my mom taught me about slow-cooking less tender cuts – pot roast.
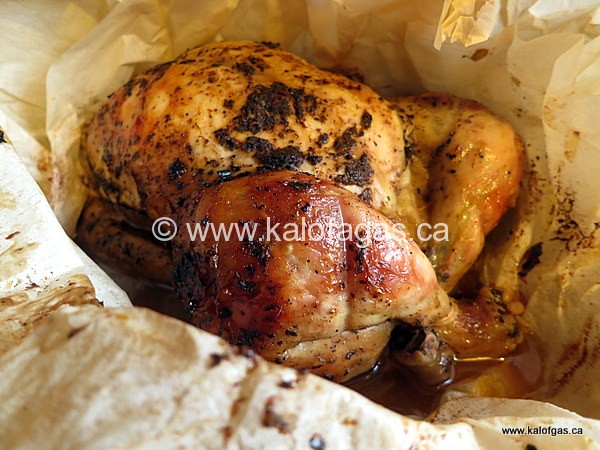
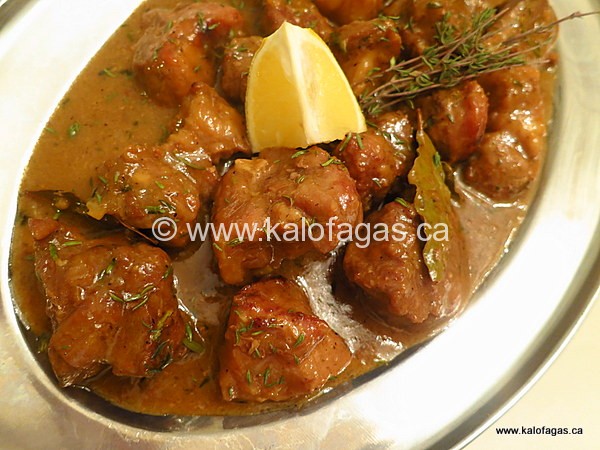
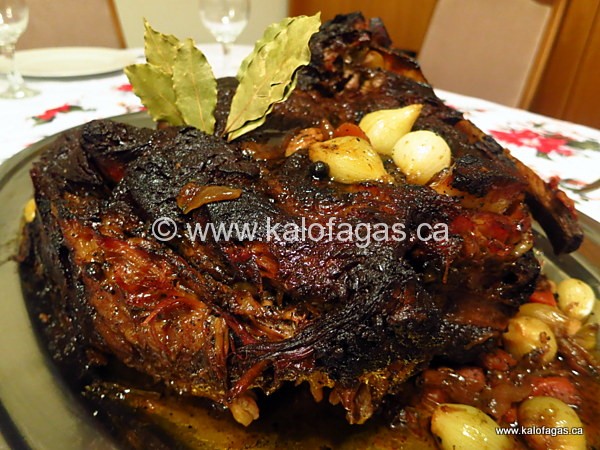
One of the tastiest and best cuts for slow-cooking has to be the shoulder or chuck of beef. There’s muscle and fat, which I find ideal for a slow, long cooking method. Braising to be precise. For maximum flavour I first browned the meat on my stovetop then place it in a pre-heated oven to roast uncovered and get a deeper brown colour. After comes the aromatics like onions, carrots and celery, lots of garlic cloves, bay leaves, whole allspice berries and red wine.
Add enough hot water to come halfway up the meat, cover and braise in the oven for anywhere from 3 to 5 hours (depending on the size of the meat). I like the blade shoulder as I can order small or large cut, depending on how many people I aim to feed. The blade shoulder also has some bones in it and that equals more flavour and less chance of your meat drying out.
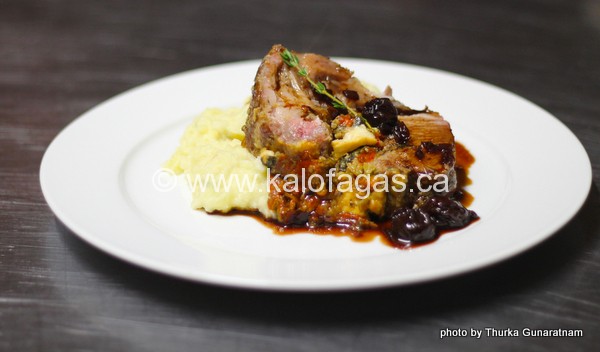
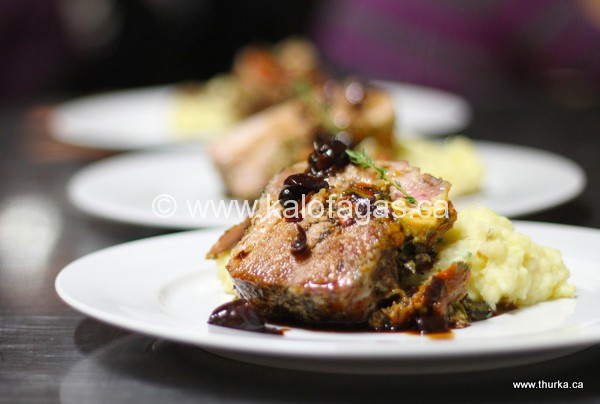
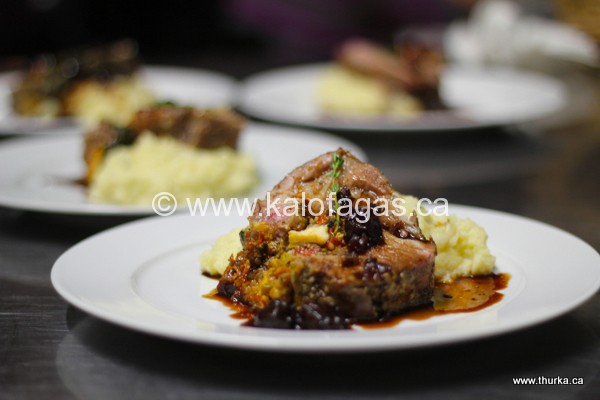
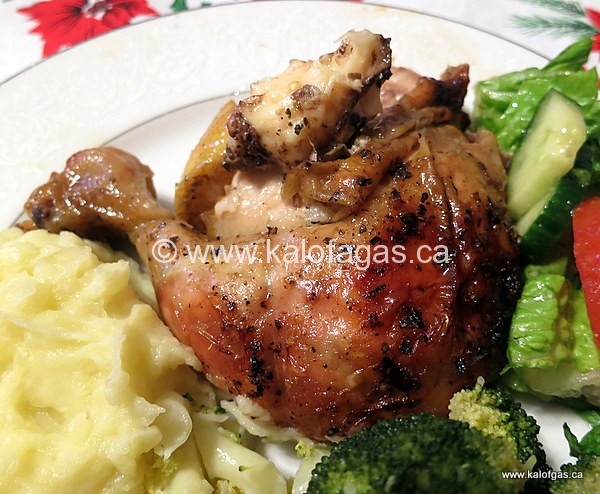
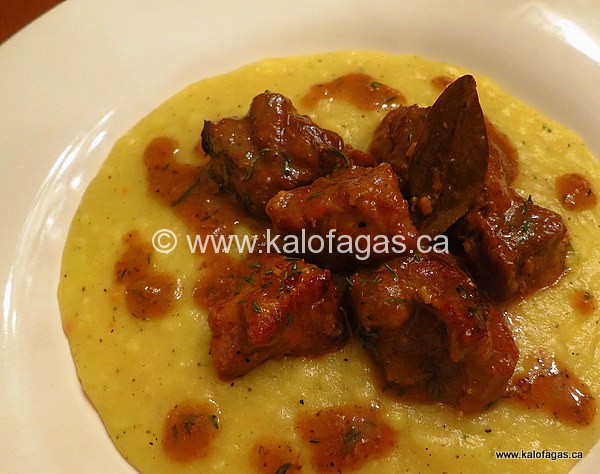
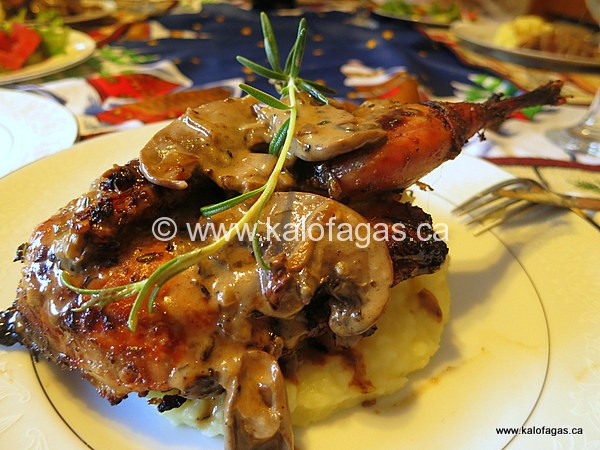
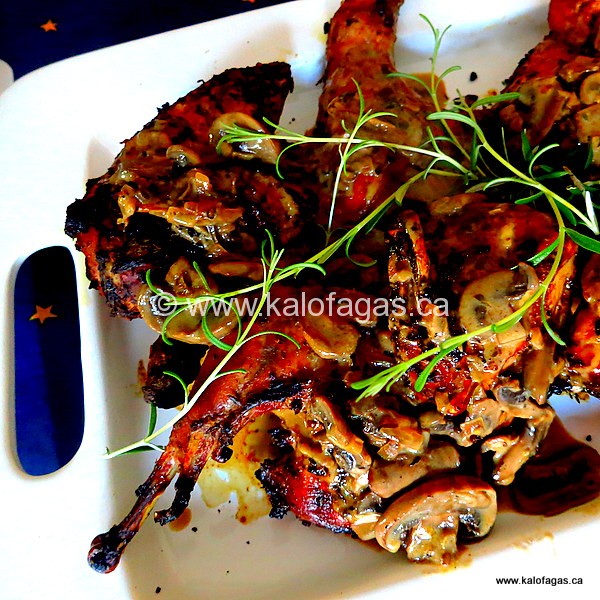
Carving this cut of met will not give you sliced like a Prime Rib but you’ll get juicy, succulent pieces of meat that need just a spoon or two of jus poured over it and perhaps some fresh ground pepper. Serve with roast vegetables, mashed potatoes and this Sunday roast will fill your home with wonderful aromas and fond memories of roasts of yore.
Let’s bring back the Sunday roast!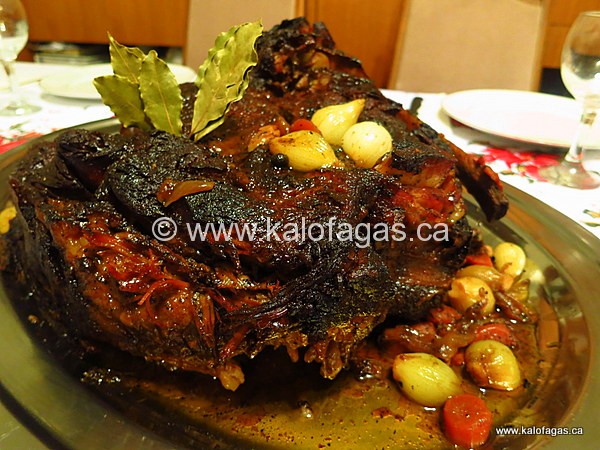
Greek Style Sunday Roast
1 beef blade shoulder (bone-in) approx. 10-15lbs.
fine sea salt
fresh ground pepper
garlic powder
dried Greek oregano
approx. 15 allspice berries
6-7 bay leaves
2 cups red wine
3 Tbsp. tomato paste
hot water
2 carrots
2 stalks celery
2 large onions
1 whole head of garlic, smashed
1 small bunch of fresh thyme sprigs
3 cups blanched pearl onions
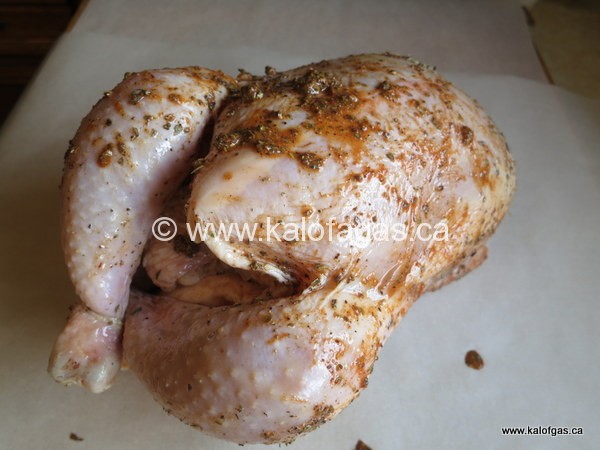
- Ensure your beef is patted-dry and free of any moisture. Generously season the whole exterior of the meat with salt, garlic powder, some black peppers and dried Greek oregano. Place the beef in a roasting pan and turn on your stovetop to high heat. Drizzle some vegetable oil nd sear all sides of the meat until just browned. In the meantime, pre-heat your oven to 400F.
- After your been has been seared, place it in your pre-heated oven and roast for 30 minutes or until the beef has turned to deep brown. In the meantime, peel and chop your onions, carrots, celery, garlic and when the beef is deep brown, remove the roast and place the vegetables around the meat along with the bay leaves, allspice and thyme.
- Pour in the wine, tomato paste and enough hot water to come up the beef almost halfway. Cover and place back in the oven and reduce the heat to 350F. You are now braising beef for 3 to 5 hours, depending on the size of the beef. If the beef appears a little dry on the top part, simply flip the meat about halfway through and continue to braise. You may have to add some more water into the pan.
- About an hour before the roast is done, add some blanched pearl onions around the meat and continue to braise. The meat is ready when the bones can just be twisted our of the meat and it’s fork-tender. Click on the Canadian Beef link for more valuable info on pot roasts.
- Remove the beef from the pan and allow to rest for at least 30 minutes. Remove the vegetables and pour off the liquid, skimmimg/removing the fat. You may make a sauce, gravy or simply mash in veggies to thicken and serve with meat.
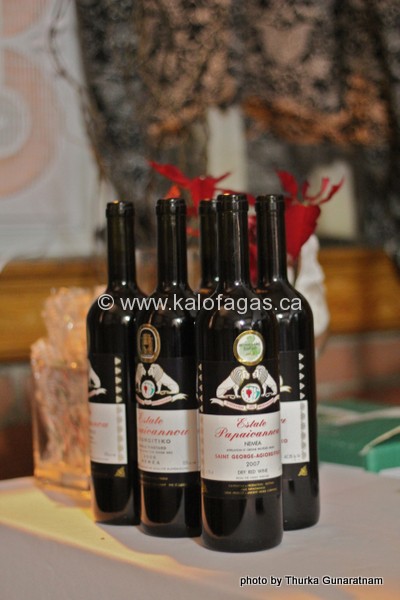
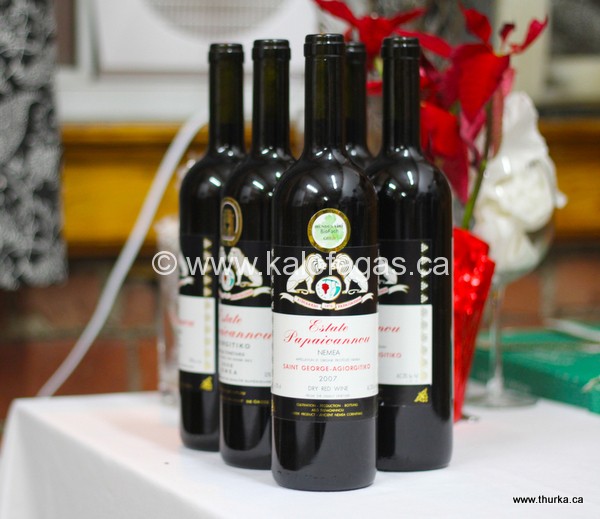
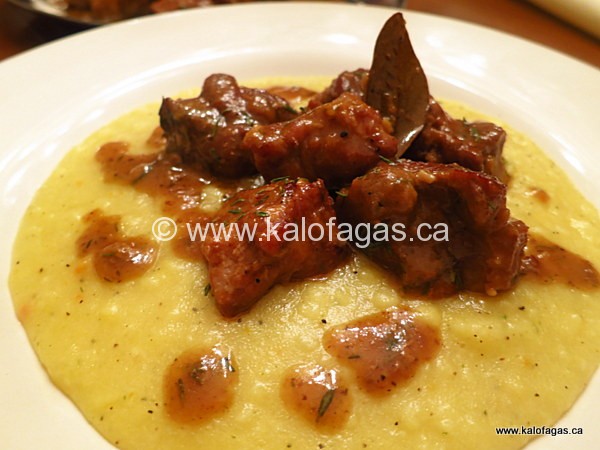
- Serve with garlic mashed potatoes, top with some of the pearl onions and serve with some of the veggies in the roast. Pair with Ktima Papaioannou Agiorghitiko (St. George) red.
Note: Roasting time vary according to size of meat. Most post roasts are 4-5lbs and still take over two hours braising to become tender. The roast used in this recipe was about 15 lbs. and it took more than 5 hours to cook and serves a party of 15!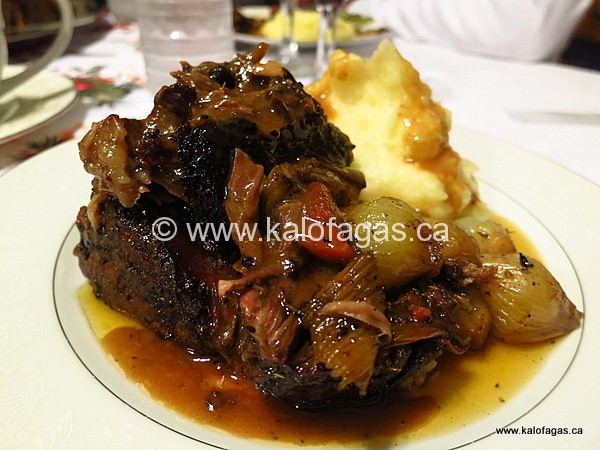
Post Footer automatically generated by Add Post Footer Plugin for wordpress.
© 2012, Peter Minakis. All rights reserved. If you are not reading this post in a feed reader or at http://kalofagas.ca then the site you are reading is illegally publishing copyrighted material. Contact me at truenorth67 AT gmail DOT COM. All recipes, text and photographs in this post are the original creations & property of the author.
Greek Style Sunday Roast was first posted on December 12, 2012 at 11:28 am.
©2012 "Kalofagas - Greek Food & Beyond". Use of this feed is for personal non-commercial use only. If you are not reading this article in your feed reader, then the site is guilty of copyright infringement. Please contact me at truenorth67@gmail.com
The post Greek Style Sunday Roast appeared first on Kalofagas - Greek Food & Beyond.